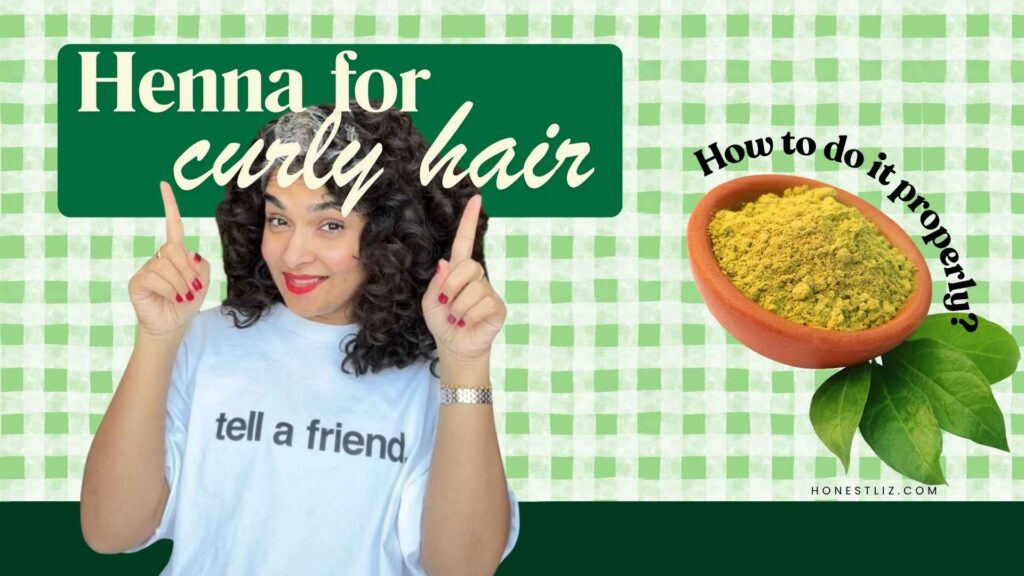
Looking for a natural way to cover grey hair?
Henna can be a wonderful option for colouring hair, but curly hair needs a little extra care before, during and after the process.
I personally don’t cover my greys, so this isn’t a personal henna colouring tutorial. Instead, this guide brings together the experiences and techniques shared with me by curly-haired women who have successfully used henna to colour their hair.
And there’s one thing I want you to know before you start: Henna can leave your hair feeling dry.
Henna elongates hair.
So if you have curly, coarse, dry or high-porosity hair, the aftercare is just as important as the henna application itself.
What Is Henna?
Henna is a plant-based dye traditionally used to colour hair and create temporary body art.
When used on hair, henna can deposit a warm red, orange or copper tone. The final result depends on your starting colour, the henna you use and what other plant dyes you combine with it.
Unlike conventional oxidative hair dyes, henna works differently on the hair, which is one reason many people choose it as an alternative to traditional colouring.
But “natural” doesn’t automatically mean “suitable for everyone.”
Always patch test products according to the manufacturer’s instructions, and be particularly careful if you’ve previously experienced reactions to hair colour.
Why Curly Hair Needs Extra Care With Henna
One of the biggest complaints I hear about henna is: “I have lost my curls after using it!”
That’s not surprising. Henna is strengthening but it can make hair feel temporarily dry or stiff, particularly when you’re already working with curly hair that tends to be naturally drier.
Curly hair often needs more intentional protein alongwith moisture, because it’s protein that absorbs moisture into the hair, while enhacing your curl pattern.
Henna can be drying as well. And withut adequate moisture, hair can feel brittle like it’s about to break!
So if you’re going to use henna, don’t stop at the colour.
Plan your aftercare before you even start.
Yesha’s Henna Journey
One of my curl friends, Yesha, started noticing grey hairs at just 24. (which is normal considering the average age people start to grey being under 30 yrs)
Before discovering henna, she had already put her hair through countless chemical treatments, including eight straightening treatments, two keratin treatments and salon colour.
Eventually, she began experiencing reactions whenever she coloured her hair traditionally, including red rashes across her body.
After several applications, she was thrilled with the result.
That’s when she decided to try henna.
Her experience is a good reminder that finding an alternative hair-colouring method can be a very personal journey. Here photos are posted here.
But it also highlights why a patch test and careful product selection matter, even when you’re choosing a plant-based option.
How Much Henna Do You Need?
Your hair length and density will determine how much you need.
As a starting point, the quantities shared for this routine were:
- Shoulder-length hair: approximately 100 g
- Mid-back-length hair: approximately 200 g
- Hip-length hair: approximately 300 g
If you have extremely thick or high-density hair, you may need more.
It’s better to have enough mixture to completely saturate your hair than to try to stretch a small amount across your entire head.
Ingredients for This Henna Hair Treatment
The original recipe uses:
- Henna powder
- Beetroot juice
- Amla powder
- Coffee powder
- Lemon
- Curd/yogurt
- Coconut or mustard oil — optional
- Hibiscus tea — optional
You can simplify the process depending on the results you’re looking for.
Important: Different henna powders and plant-dye products can vary considerably, so always follow the preparation instructions provided with the specific product you’re using.
How to Prepare Amla Water
If you’re using amla water in your henna mixture:
- Add approximately 2–2½ tablespoons of amla powder to one glass of water.
- Boil until the amount of water reduces by about half.
- Strain the mixture.
- Allow it to cool before incorporating it into your henna mixture.
The original routine recommends making this on the day you’re preparing your henna.
How to Prepare Your Henna Mixture
Add your henna powder to a bowl according to your hair length.
Then incorporate your chosen ingredients:
- Beetroot juice
- Prepared amla water
- Lemon juice
- Coffee powder
- Curd/yogurt
- Optional coconut or mustard oil
Mix everything thoroughly.
Then allow the mixture to rest according to the instructions for your particular henna. The original routine recommends at least two hours or overnight.
How to Apply Henna to Curly Hair
This is where your application technique really matters.
1. Start with clean hair
Clarify your hair before applying henna.
The original method recommends using an SLS-free shampoo and not applying conditioner, mask or oil beforehand.
You want the hair clean and free from layers of styling products.
2. Apply to damp hair
Work in small sections.
This is particularly important for thick, curly hair because you want the henna mixture distributed evenly throughout your hair.
3. Saturate thoroughly
Don’t just coat the outside of your curls.
Make sure you’re working the mixture through each section so that the hair is properly covered.
4. Keep your hair from drying out
Once you’ve finished applying the henna, cover your hair with cling film and then a reusable shower cap.
The goal is to prevent the mixture from drying out while you’re waiting.
5. Allow it to process
The original routine recommends leaving the henna on for approximately 2–3 hours.
The Most Important Part: Henna Aftercare
If you have curly hair, don’t underestimate this step.
After rinsing out the henna, your hair may feel significantly different from how it normally feels.
That’s why I recommend planning your moisture routine in advance.
The original method is:
Rinse → Air dry → Oil → Wash → Deep condition → Style
Let’s break that down.
Step 1: Rinse With Water
Rinse the henna thoroughly with water.
Don’t immediately reach for shampoo.
Step 2: Air Dry Your Hair About 80%
Allow your hair to air dry until it’s approximately 80% dry.
Step 3: Apply Your Favourite Oil
When your hair is still around 20% wet, coat it with your preferred hair oil.
The original routine specifically recommends not skipping this step.
Leave the oil on for approximately 12–24 hours.
Step 4: Shampoo
The following day, wash your hair with shampoo.
The original routine recommends clarifying at this stage.
Step 5: Deep Condition
This is particularly important if your curls feel dry after henna.
Apply your favourite deep-conditioning hair mask and give your curls the moisture they need.
Then style as normal.
Don’t judge your hair immediately after the henna process.
Give your curls time to recover their softness.
What About Indigo for Dark Brown Hair?
Henna naturally produces warm tones, so if you’re looking for a darker brown result, some people combine henna with indigo.
Safia from @curl.boss shared her two-step method with me.
Her approach is to apply indigo after rinsing out the henna, without applying oil in between.
Her reasoning is that keeping oil off the hair at this stage allows the indigo to bind to the henna-treated hair more effectively.
She also notes that the process can initially make the hair feel dry, but that as the colour settles and oxidises, the hair can feel and look more lustrous.
If you’re considering indigo, research the specific two-step process carefully rather than improvising the ratios or timing.
Henna and Curly Hair: My Biggest Tip
If you’re considering henna, don’t think about colour alone.
Think about the entire process:
Preparation → Application → Processing → Rinsing → Moisture → Conditioning → Styling
Your colour may look beautiful on day one. But your curls need to feel beautiful too.
And that means your post-henna moisture routine matters enormously.
My Final Thoughts on Henna for Curly Hair
Henna can be a great option for people who want to experiment with plant-based hair colouring, particularly if conventional colour hasn’t worked well for them.
But I wouldn’t recommend jumping into it simply because something is labelled “natural.”
Do your research. Choose a reputable product. Patch test. Understand the colour you’re likely to achieve.
And most importantly, prepare your curls for the dryness that may follow.
If you have curly hair, beautiful colour shouldn’t come at the expense of healthy-feeling curls.
The goal is to enjoy both.
Need Help With Your Curly Hair?
If you’re overwhelmed by products, routines or figuring out what your curls actually need, I have resources to help.
Curly Hair Products Guide — Download Now
67 pages of insights, sample routines and 60+ tried-and-tested products.
Curly Hair 1:1 Coaching — Book Now
Personalized guidance for your specific hair, routine and goals. Open worldwide, with calls on Sundays.
Your curls don’t need more products. They need the right approach.